使用向导创建新封装
kicad
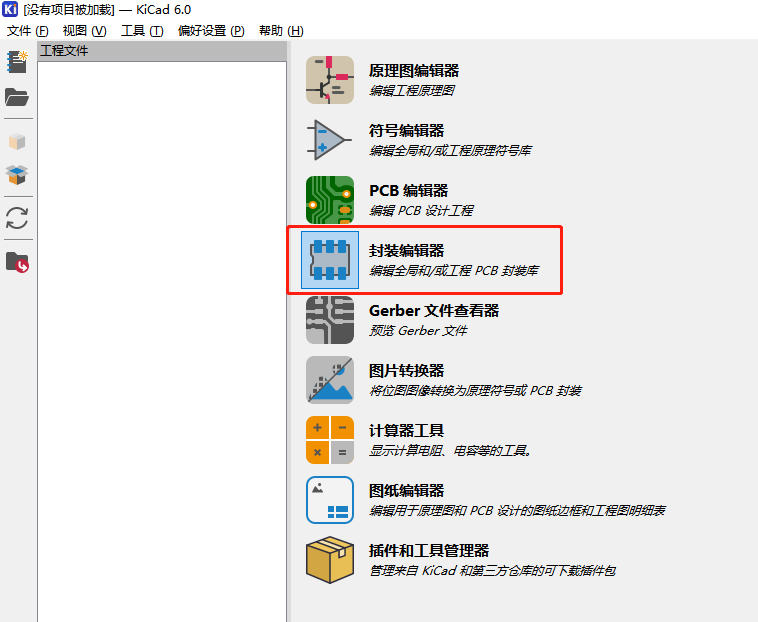
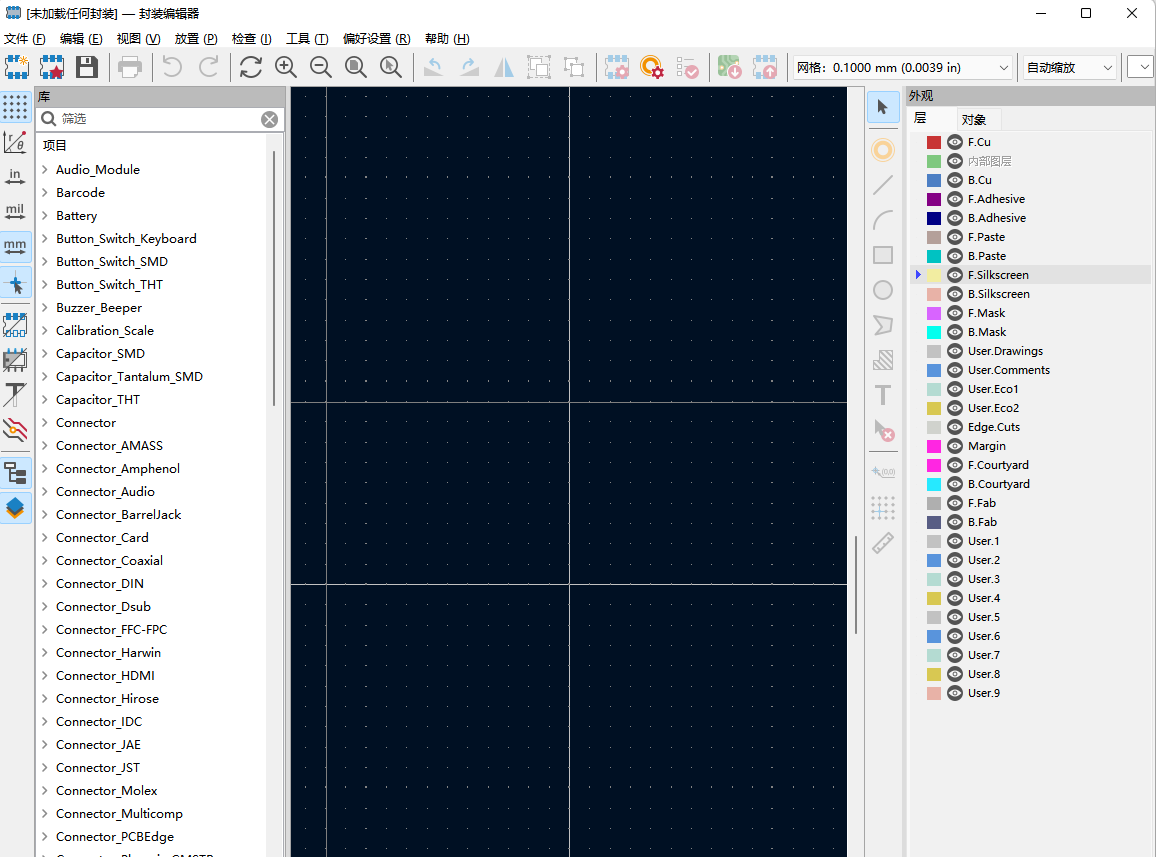
今天给大家演示一下如何创建一个新的封装,打开kicad,点击封装编辑器如图,进入封装库界面:
kicad6.0界面
封装编辑器界面
我们打开文件可以看到新建封装和创建封装两种方式,咋一看这种方式好像是一样的,但是实际是有很大区别的,所谓新建封装就是从无到有,需要自己去一点点的绘制,而创建封装是利用封装向导去绘制的,用创建封装去绘制的封装都是规则的型号常见的封装,下面就演示一下如何使用封装向导去绘制封装。 首先先确认绘制什么样的封装,
In the previous recipe, you learned how to create a custom footprint. The footprint you designed was for a standard 8-pin DIP integrated circuit. As you will probably agree, designing this footprint required a significant amount of effort. For devices like that, and several others, the KiCad Footprint Editor offer a wizard that can cut the total time needed to create something like the footprint from the previous recipe by 90%. In this recipe, you will learn how to use this wizard to create the same DIP-8 footprint as the one from the previous recipe which just a few keystrokes and clicks.
To make the most out of this recipe you should first read the previous one. From the main KiCad window, start the Footprint Manager. In the Footprint Manager, click on the 'New footprint using footprint wizard' button (Figure 38.1).
Figure 38.1: Start the footprint wizard.
The footprint wizard window will appear. At the moment it contains no information because we have not selected one of the available footprint generators. To do so, click on the 'Select wizard script to run' button (Figure 38.2).
Figure 38.2: Select a wizard script to run.
The Generators window will appear. It contains a list of the available wizard scripts. There is a good variety of scripts, and you can expect more in the future. Feel free to experiment with each one to gain an understanding of how they work. For the purposes of this recipe, select the S-DIP script, and click 'Ok' to select this script.
Figure 38.3: Select one of the wizard scripts.
The wizard window is now populated with the footprint parameters and its preview. All the parameter values are editable. To create the 8 pin package, simply type '8' in the pad count field. The rest of the parameters are appropriate as they are, but you should check again. The drill size is adequately large at 0.8 mm to accommodate the pins. The pad pitch is also good at 2.54 mm (Figure 38.4).
Figure 38.4: The footprint parameters in the wizard.
Click on the Body tab to inspect the footprint body parameters. The default values are appropriate. Feel free to change them to see their effect on
the footprint. When you are ready, click on the 'Export footprint to editor' button (Figure 38.5).
Figure 38.5: The Body parameters.
The footprint that you just created with a few clicks in the wizard is now in the footprint editor (Figure 38.6). You can continue with other customisation tasks there. Figure 38.6: The new footprint is in the editor for additional work. A couple of things you can do: 1. Change the type of pad 1 from oval to rectangular 2. Change the type of the rest of the pad from oval to circular (I did not do that) 3. Rotate the footprint by 90 degrees. 4. Move the text blocks.
To change the pad types, bring up the properties window for each pad. You can find instructions on how to do this in the previous recipe (hint: use the 'E' key). In Figure 38.7 you can see what my wizard-generated custom footprint looks like after I completed changes 1, 3 and 4. Figure 38.7: The final footprint; most of the work was done by the wizard. As you can see, using the wizard radically reduces the amount of time needed to create a footprint.
